Thin Dip Resin – 16 fl. oz.

Professional Dip System - Step 2
SKU: 701001600S

$72.00

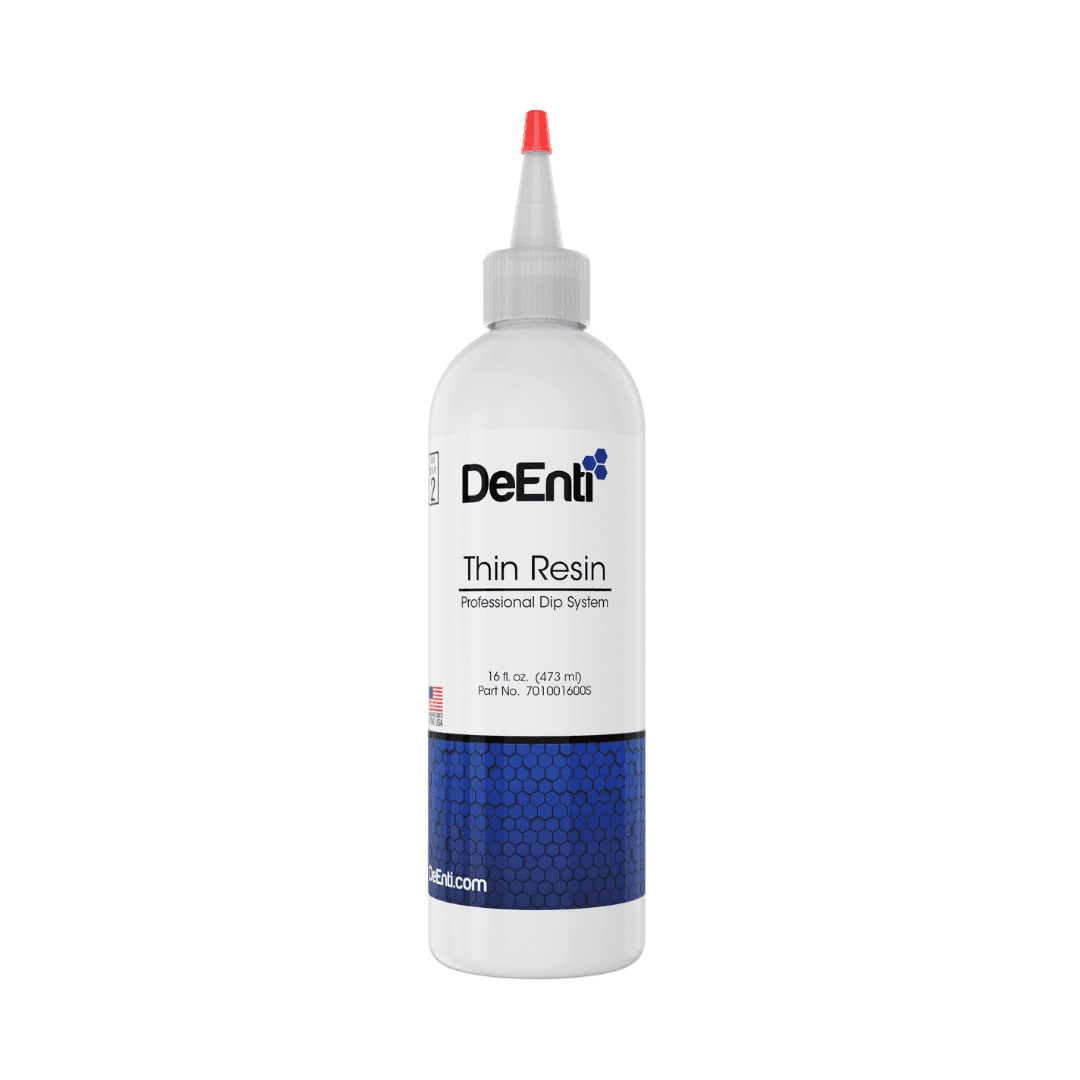
Thin Dip Resin is an essential component in the process of adhering powder to the nail bed, acting as step two. It is most useful for base layers, preventing the nail from thickening too rapidly.

  • Dip Step 2 - Base
  • Smooth Application
  • Nail Glue
  • Strong Hold

Bulk Pricing Discount

Range Discount
25 +
$54.00
Quantity
Images of DeEnti Free Gift options. Says Choose your free gift!

Spend at least $100 and get a free gift!

>> Learn More <<

Free Gift

To express our sincerest gratitude for your loyal business, we enjoy giving free gifts. It does not need to be a holiday or special occasion to qualify. Simply place your order and your free gift will automatically be added to your cart at no extra cost to you. Gifts vary by total amount spent. Free gifts change regularly, so please check back when placing another order.
  • A large 16 fl oz (473 ml) refill bottle of DeEnti Thin Resin, the base coat for the Professional Dip System. Thin Dip Resin – 16 fl. oz.
    Spend $250.00
  • A large 16 fl oz (473 ml) refill bottle of DeEnti Thin Resin, the base coat for the Professional Dip System. Thin Dip Resin – 16 fl. oz.
    Spend $550.00
  • A large 16 fl oz (473 ml) refill bottle of DeEnti Thin Resin, the base coat for the Professional Dip System. Thin Dip Resin – 16 fl. oz.
    Spend $1000.00

More Information

Instructions

Dip Powder Application Steps
1. Apply a thin coat of PH Plus Bonder.
2. Apply a thin layer of either Thin or Medium Resin. Ensure you carefully wipe away any resin that gets on your clients skin.
3. With the lid still secured, shake the Powder jar to fluff the powder.
4. Create a protective base layer using Adv Gel Clear Powder to prevent any pigment staining on the nail bed. Dip the wet nail directly into the freshly fluffed dip powder.
5. Gently tap the bottom of the finger to remove any excess powder. Repeat this process on all nails. Then, use a fluffy brush to wipe off any excess powder from the nails and surrounding skin.
6. Repeat steps 2-4 with your desired colored powder 2-3 times until you achieve the desired coverage.
7. Once the color is applied, use a small amount of Harden Fast Dip Activator over the top of the powder.
8. Buff and file the nails to your desired shape and length.
9. Apply a thin, smooth layer of Medium Resin or Thick Dip Resin. Allow it to air dry naturally, without using the activator. This should take approximately 4-5 minutes to cure, resulting in a shiny finish.
10. To finish, moisturize hands with Massage Butter, wipe down the nails with a lint-free wipe, and apply Cuticle Oil to nourish the cuticles and nail bed.

Remove Dip nails:

1. To start, gently remove the top layer of the dipped nails using a file or a drill. This improves the acetone’s effectiveness, allowing it to penetrate deeper.
2. Next, you have two options:
* Apply cotton balls soaked in 100% acetone to the nail and wrap with aluminum foil. After 10-15 minutes, remove the wraps.
* Alternatively, soak nails in 100% acetone for 10-15 minutes.
3. Gently file or lightly drill over the natural nail to remove any remaining color.
4. Finally, any staining should fade within a few hours. This is often seen when changing from a heavily pigmented dark powder to a much lighter one.

Pro Tips

  • While all our Dip Resins are interchangeable, we recommend using Thin as the base, Thick as the top, and Medium as either the base or top for optimal results.
  • For an alternative high-shine finish, skip the Resin as a Top Coat and use Dual Sealer instead.
  • After Resin application and dipping into powder, try dipping finger into powder at a 45 degree angle to get an even application.
  • Apply thin even coats of Dip Resin for even consistency.
  • Keep bottle closed when not in use, product will dry out.
  • Can also be used as nail glue.


  • Size:

    16 fl. oz.

  • Viscocity:

    Thin

  • Step #:

    Step 2

  • Features:

    Cruelty Free, Made in USA

Cyanoacrylate

Instructions

Dip Powder Application Steps
1. Apply a thin coat of PH Plus Bonder.
2. Apply a thin layer of either Thin or Medium Resin. Ensure you carefully wipe away any resin that gets on your clients skin.
3. With the lid still secured, shake the Powder jar to fluff the powder.
4. Create a protective base layer using Adv Gel Clear Powder to prevent any pigment staining on the nail bed. Dip the wet nail directly into the freshly fluffed dip powder.
5. Gently tap the bottom of the finger to remove any excess powder. Repeat this process on all nails. Then, use a fluffy brush to wipe off any excess powder from the nails and surrounding skin.
6. Repeat steps 2-4 with your desired colored powder 2-3 times until you achieve the desired coverage.
7. Once the color is applied, use a small amount of Harden Fast Dip Activator over the top of the powder.
8. Buff and file the nails to your desired shape and length.
9. Apply a thin, smooth layer of Medium Resin or Thick Dip Resin. Allow it to air dry naturally, without using the activator. This should take approximately 4-5 minutes to cure, resulting in a shiny finish.
10. To finish, moisturize hands with Massage Butter, wipe down the nails with a lint-free wipe, and apply Cuticle Oil to nourish the cuticles and nail bed.

Remove Dip nails:

1. To start, gently remove the top layer of the dipped nails using a file or a drill. This improves the acetone’s effectiveness, allowing it to penetrate deeper.
2. Next, you have two options:
* Apply cotton balls soaked in 100% acetone to the nail and wrap with aluminum foil. After 10-15 minutes, remove the wraps.
* Alternatively, soak nails in 100% acetone for 10-15 minutes.
3. Gently file or lightly drill over the natural nail to remove any remaining color.
4. Finally, any staining should fade within a few hours. This is often seen when changing from a heavily pigmented dark powder to a much lighter one.

Pro Tips

  • While all our Dip Resins are interchangeable, we recommend using Thin as the base, Thick as the top, and Medium as either the base or top for optimal results.
  • For an alternative high-shine finish, skip the Resin as a Top Coat and use Dual Sealer instead.
  • After Resin application and dipping into powder, try dipping finger into powder at a 45 degree angle to get an even application.
  • Apply thin even coats of Dip Resin for even consistency.
  • Keep bottle closed when not in use, product will dry out.
  • Can also be used as nail glue.


Add a review
Thin Dip Resin - 16 fl. oz. Thin Dip Resin - 16 fl. oz.
Rating*
0/5
* Rating is required
Your review
* Review is required
Name
* Name is required
5.0
Based on 6 reviews
5 star
100
100%
4 star
0%
3 star
0%
2 star
0%
1 star
0%
1-5 of 6 reviews
  1. JN
  2. KA
  3. JE
  4. CT
  5. KL

Our base coat, known for its thin application, offers the perfect foundation for your dip system.

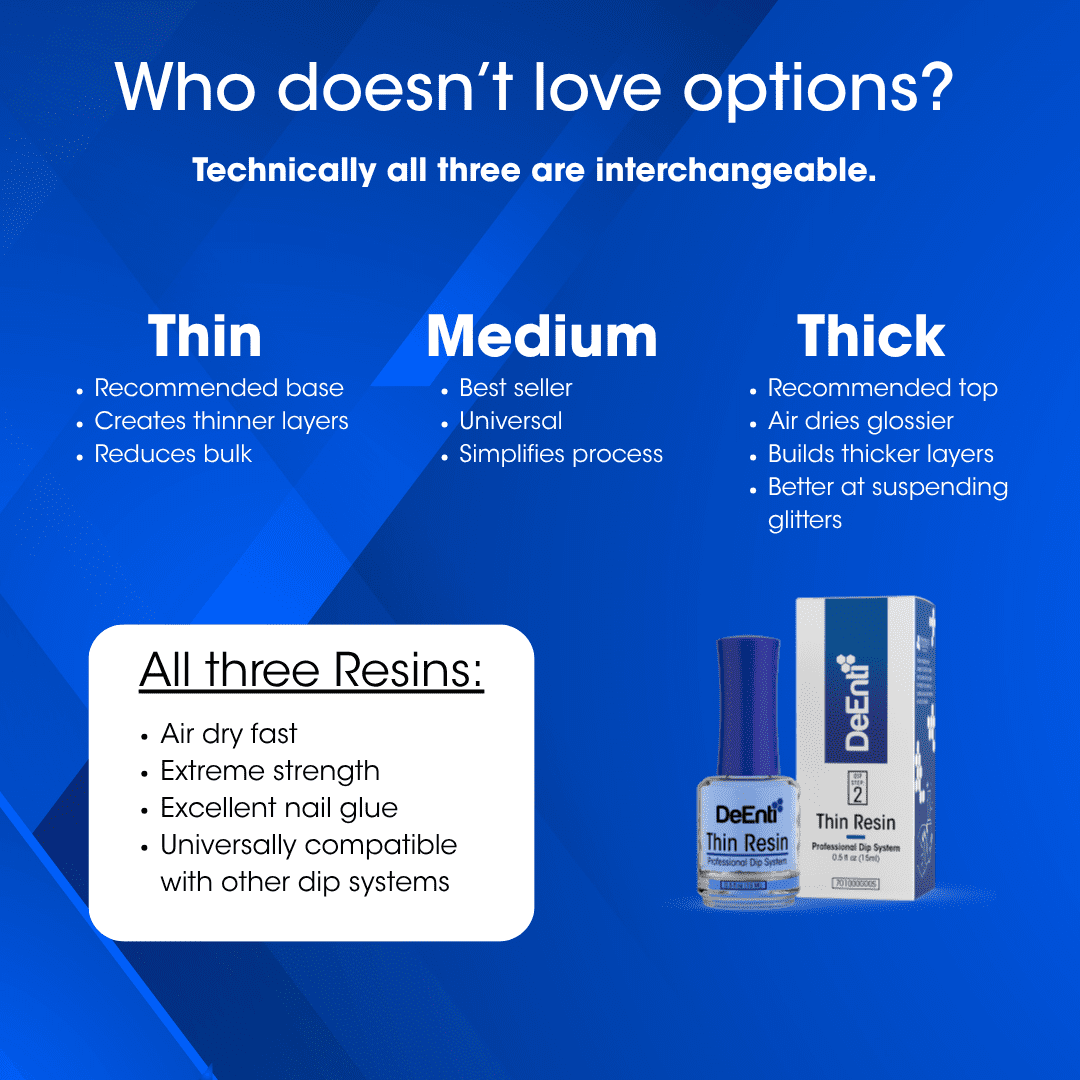
Dip Resin acts as the bonding agent between the powder and the nail, and its thickness significantly influences the application and final result. A thicker resin will naturally create a thicker layer on the nail. While all three of our resin types can be used as both a top and base coat, certain trends have emerged based on their unique properties:

Thin Resin: This is the popular choice for base layers. Its light consistency helps prevent excessive build-up, allowing for a more controlled and natural-looking nail. Our base coat, known for its thin application, offers the perfect foundation for your dip system.

Ultimately, beautiful nails can be achieved with any combination of our resins, so feel free to experiment and discover your preferred method!

Learn more about Resin here.