The Secret to a Slim, Strong Apex: No More Bulky Nails!
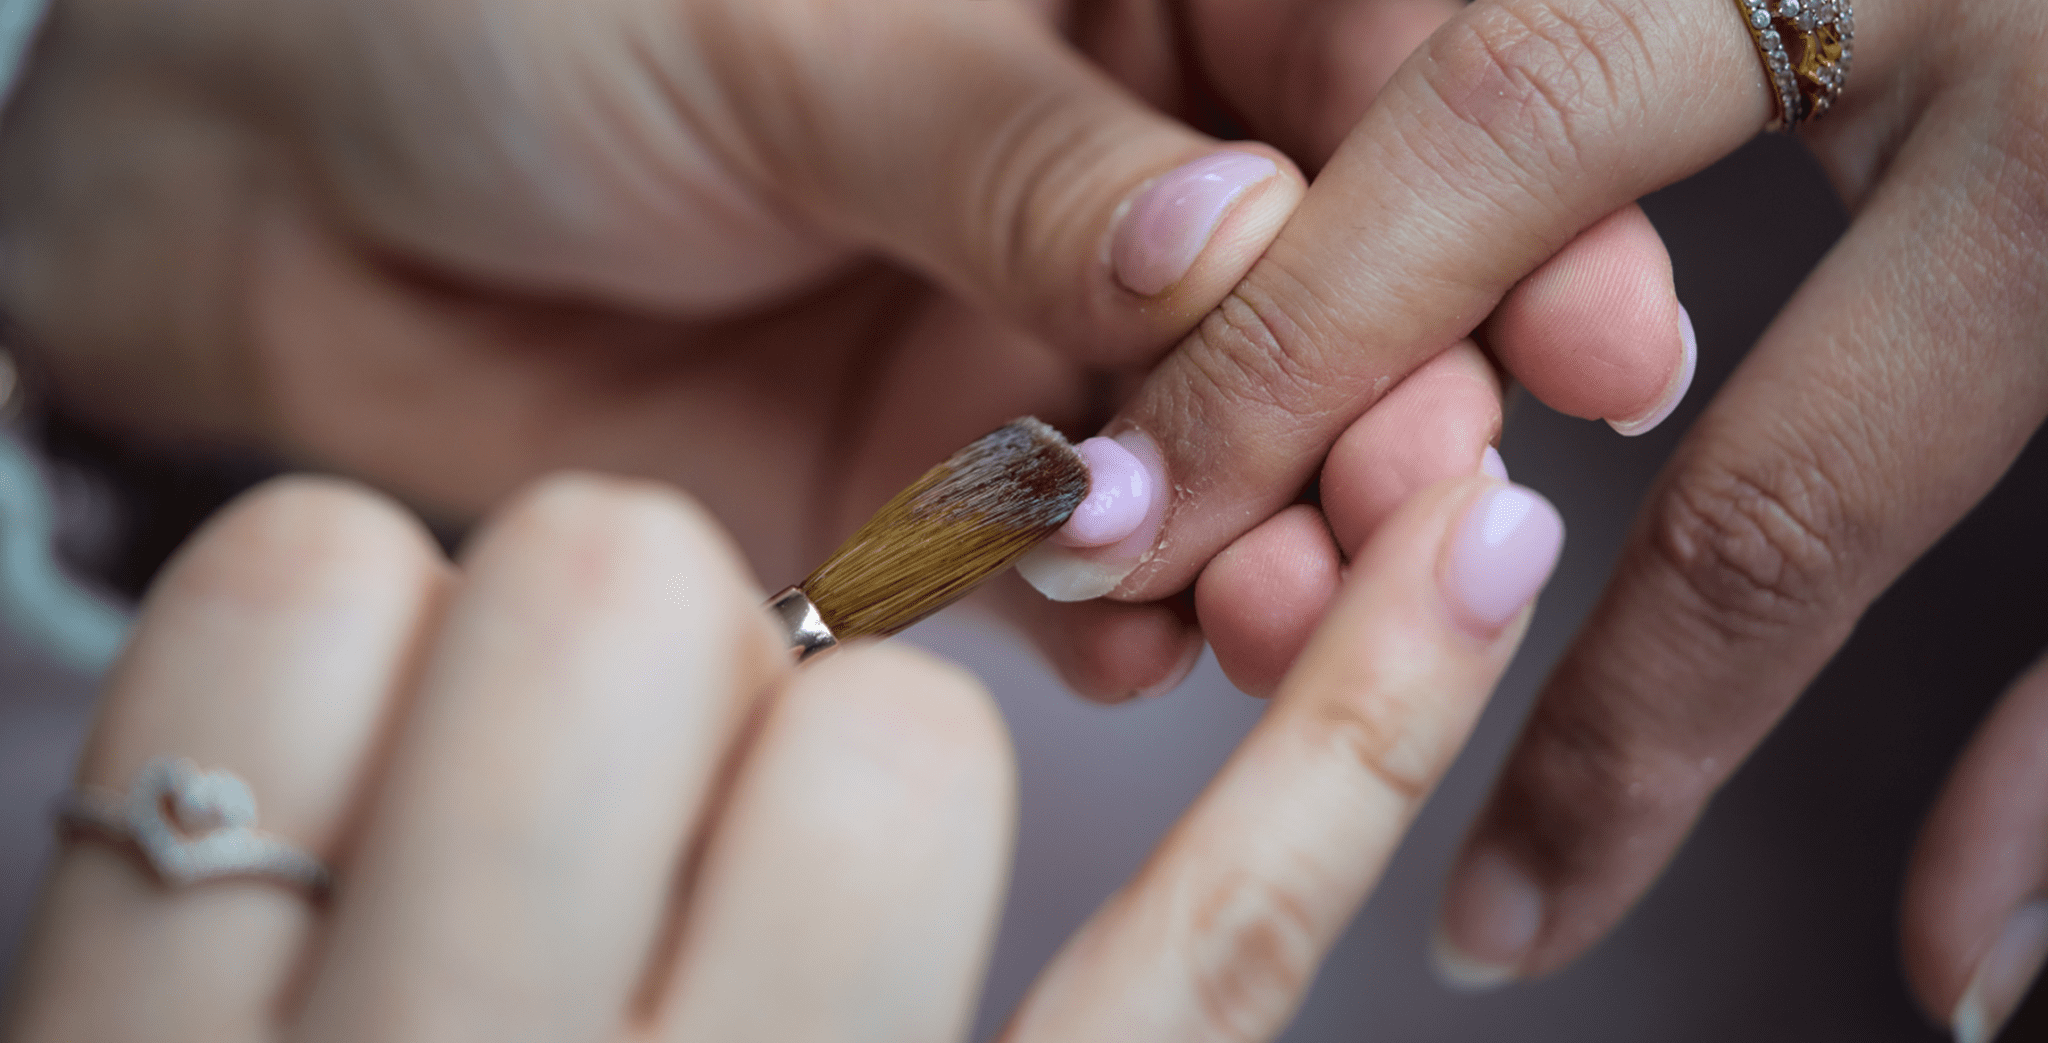
As a nail technician, your goal is to create stunning, durable nails that your clients love. But there’s a fine line between strong and bulky. We’ve all seen them: acrylic nails that are thick, heavy, and lack an elegant, natural-looking curve. So, how do you build a nail that can withstand daily wear and tear without looking like a helmet on the fingertip? The answer lies in mastering the apex.
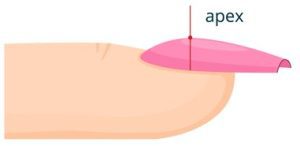
What is an Apex and Why Do You Need One?
Think of the apex as the nail’s personal “strength structure” or its “arch support.” It’s the highest point of your acrylic overlay, and it’s strategically placed to absorb pressure and prevent the nail from cracking or breaking. When done correctly, the apex provides maximum strength with minimal product. The challenge, and what we’re here to solve, is creating that essential strength without making the nail look thick or unnatural.
The Foundation: Product Control is Everything
Before you can build a perfect apex, you need to have your product consistency down. This all goes back to your monomer-to-powder ratio. For building structure, you need a medium-wet bead that holds its shape but is still pliable and workable.
- Too Dry? A dry, crumbly bead will be impossible to blend, leading to lumps.
- Too Wet? A runny bead will flood the nail and won’t stay where you place it.
Remember this mantra:
Good structure is built with the brush, not the file.
Your goal is to place the acrylic so precisely that filing becomes a minor step for refining, not a major overhaul for reshaping.
Where Does the Apex Go?
(Location, Location, Location)
Proper placement is key to a functional and beautiful apex. So, where does it go?
Look at the natural nail. The apex should be built over the nail’s natural stress area. This is the spot that takes the most pressure and would typically be the first place to bend or break. For most standard nail lengths and shapes, this is located in the back third of the nail bed, closer to the cuticle area than the free edge.
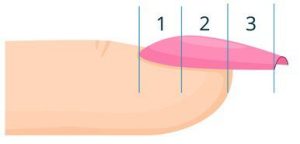
Pro Tip: Gently press down on the free edge of the nail (3), you’ll see a small area on the nail bed turn slightly white (line between 1 and 2). That’s your stress point! It’s the perfect spot to focus the bulk of your product.
While the placement might shift slightly forward for extended enhancements or dramatic shapes like stilettos, the “back third” rule is your go-to for most everyday nail enhancements.
Step-by-Step Guide to Building a Natural-Looking Apex
We’ll use the popular multi-bead application method. This technique gives you maximum control over placement and thickness.
Step 1: The Apex Bead – The Most Important Bead
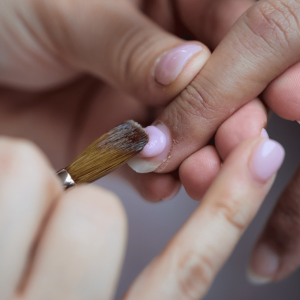
This bead creates the entire foundation for your nail’s strength.
- Pick up a medium-sized bead of acrylic. Place it directly on the stress area you just identified (in the back third of the nail).
- Using the body of your brush, gently guide the product from side to side to cover the width of the nail.
- Then, using just the tip of your brush, lightly feather the product down toward the free edge and gently blend it back toward the cuticle, leaving a thin, clean margin around the cuticle. The product should be thickest at the apex point and taper out from there.
Step 2: The Cuticle Bead
This bead is all about creating a seamless, flush transition.
- Pick up a smaller bead of acrylic. Place it near the cuticle area, making sure to leave a tiny, hair-thin gap between the product and the skin to prevent lifting.
- Gently press and guide the bead to blend it perfectly into the apex bead you placed earlier. You want this area to be very thin and neat. This not only looks better as the nail grows out but is crucial for preventing lifting.
Step 3: The Free Edge Bead (If Needed)
For short to medium nails, you may not need this bead. But for longer enhancements, it ensures full coverage and strength.
- Pick up a third, very small bead.
- Place it at the very tip of the free edge and feather it back to blend smoothly into the structure you’ve already built with the apex bead.
The Final Check: Perfecting the Shape
Once your acrylic is placed, take a moment to check your work from different angles.
Turn your client’s hand to the side and look at the nail from a profile view. You should see a graceful, continuous curve that rises gently from the cuticle, peaks at the apex, and then flows smoothly down to the free edge. There should be no bumps, dips, or flat spots.


Quick Troubleshooting Guide
Q: My apex looks like a big lump on the nail. What happened?
A: You likely used too much product in one spot or didn’t blend the bead enough. Remember to let the brush do the work, using light pressure to feather the edges of the apex bead for a smooth transition.
Q: My nails still look thick and bulky from the front. Why?
A: Your side walls might be too wide. After placing your apex, use the sides of your brush to keep the product centered and taper toward the sides. The strength is in the center arch, not in the width.
Q: My nails keep breaking right at the stress point. What am I doing wrong?
A: This is a classic sign that your apex is either too thin or misplaced. It might be too far forward (closer to the tip) or too far back (too close to the cuticle). Revisit your apex placement—it must be directly over the natural nail’s stress area to do its job.
Practice Makes Perfect!
Building a flawless apex doesn’t happen overnight. It takes practice, so don’t be afraid to work on swatch sticks or a practice hand to perfect your bead placement and product control. Mastering this skill will not only improve the longevity of your nail sets but will also elevate your work, setting you apart as a true nail professional.
And remember, starting with the right products makes all the difference. Using a high-quality acrylic system from DeEnterprises, with its consistent, medium set time, gives you the control and workability you need to build the perfect structure, every single time. Be the Apex Predator!
