Removing Acrylic Nails for Beginners
After having your flawless nails done for a few weeks it is time for the daunting task of removing those acrylics. Saying goodbye is hard for most and if they are removed incorrectly, it can do more harm than good. Here’s a step by step instruction of how to remove your enhancements properly.
Step 1: File the Top Layer until you’ve penetrated through the top coat.
- You can hand File at home or use a professional Dremel for this step but it is very important to remove it completely so Step 2 can fully soak up the acetone.
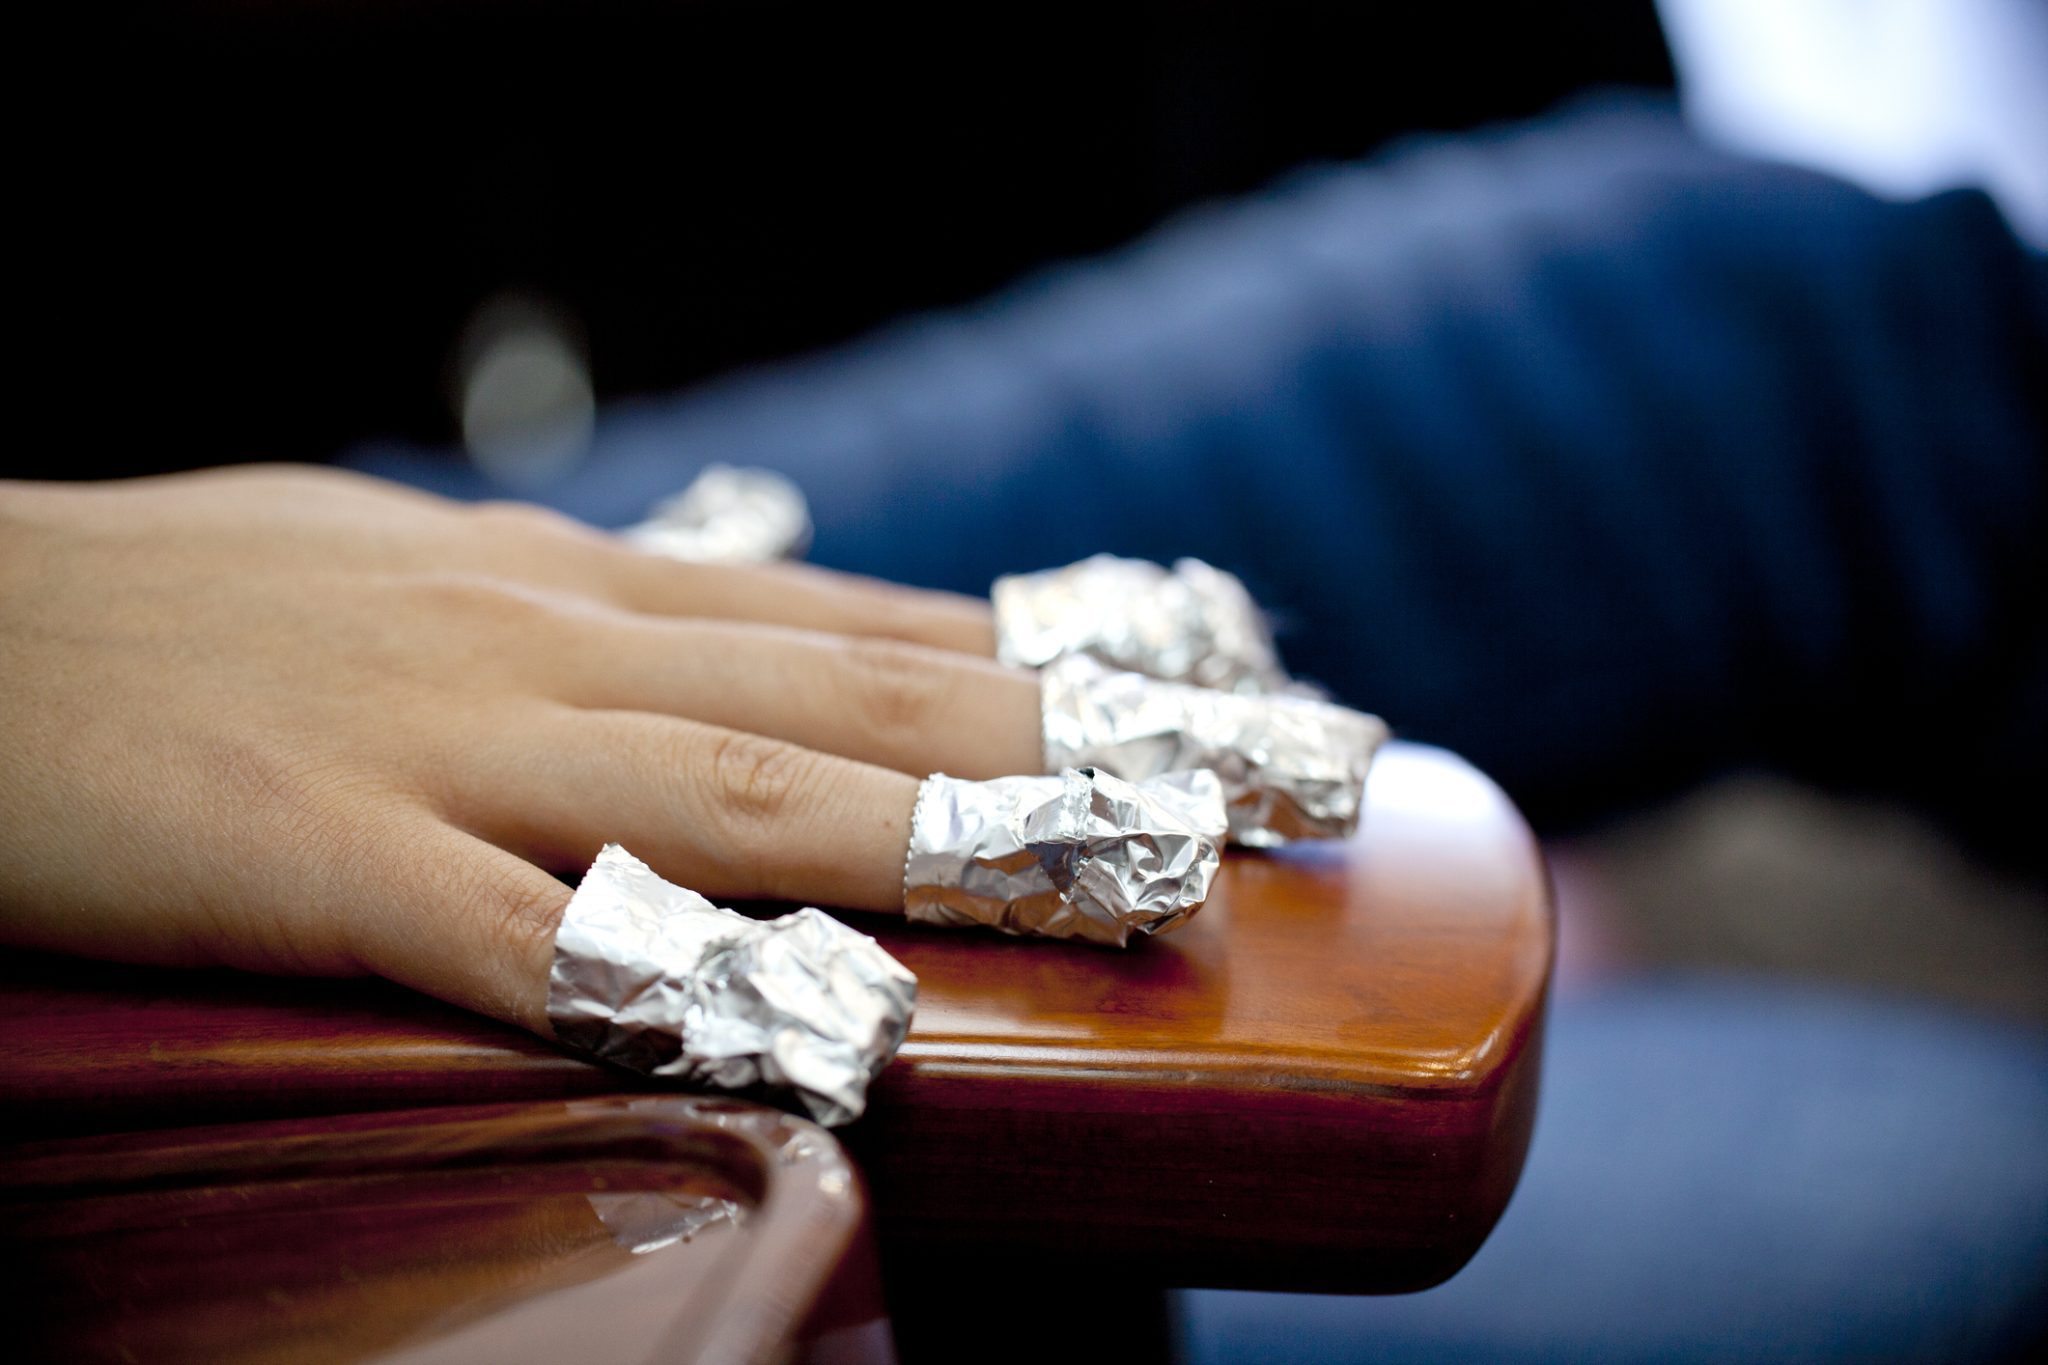
Step 2: Soak off the acrylic
- Similar to removing Gel Polish or Dip, use a cotton swab or lint free cloth and soak in Acetone. We recommend wrapping the nail in foil to reduce the amount of skin the acetone touches so the skin doesn’t dry out. The acetone will chemically break down the acrylic to a point of softening. When the nail is wrapped, it produces heat to break it down faster. Let the nails soak for 8-10 minutes.
- Alternative to Acetone, you can use our Brush Cleaner. You will do the same process as using acetone.
Step 3: Remove the acrylic
- Unwrap the nails from the foil one at a time and use a tool like a Cuticle Pusher to push the acrylic off the Nail. Push away from the nail plate.
- If the acrylic is still hard and sticking in place repeat step 2.
- Wipe the nail clean from the stick tacky acrylic remnants
Step 4: Clean the Nail
- Let the natural nail breathe. Gently Buff the nail of any imperfections and file for preferred length. Apply Lemon Lush Cuticle Oil to the nail beds and massage.
