Create Flawless Acrylic Nails
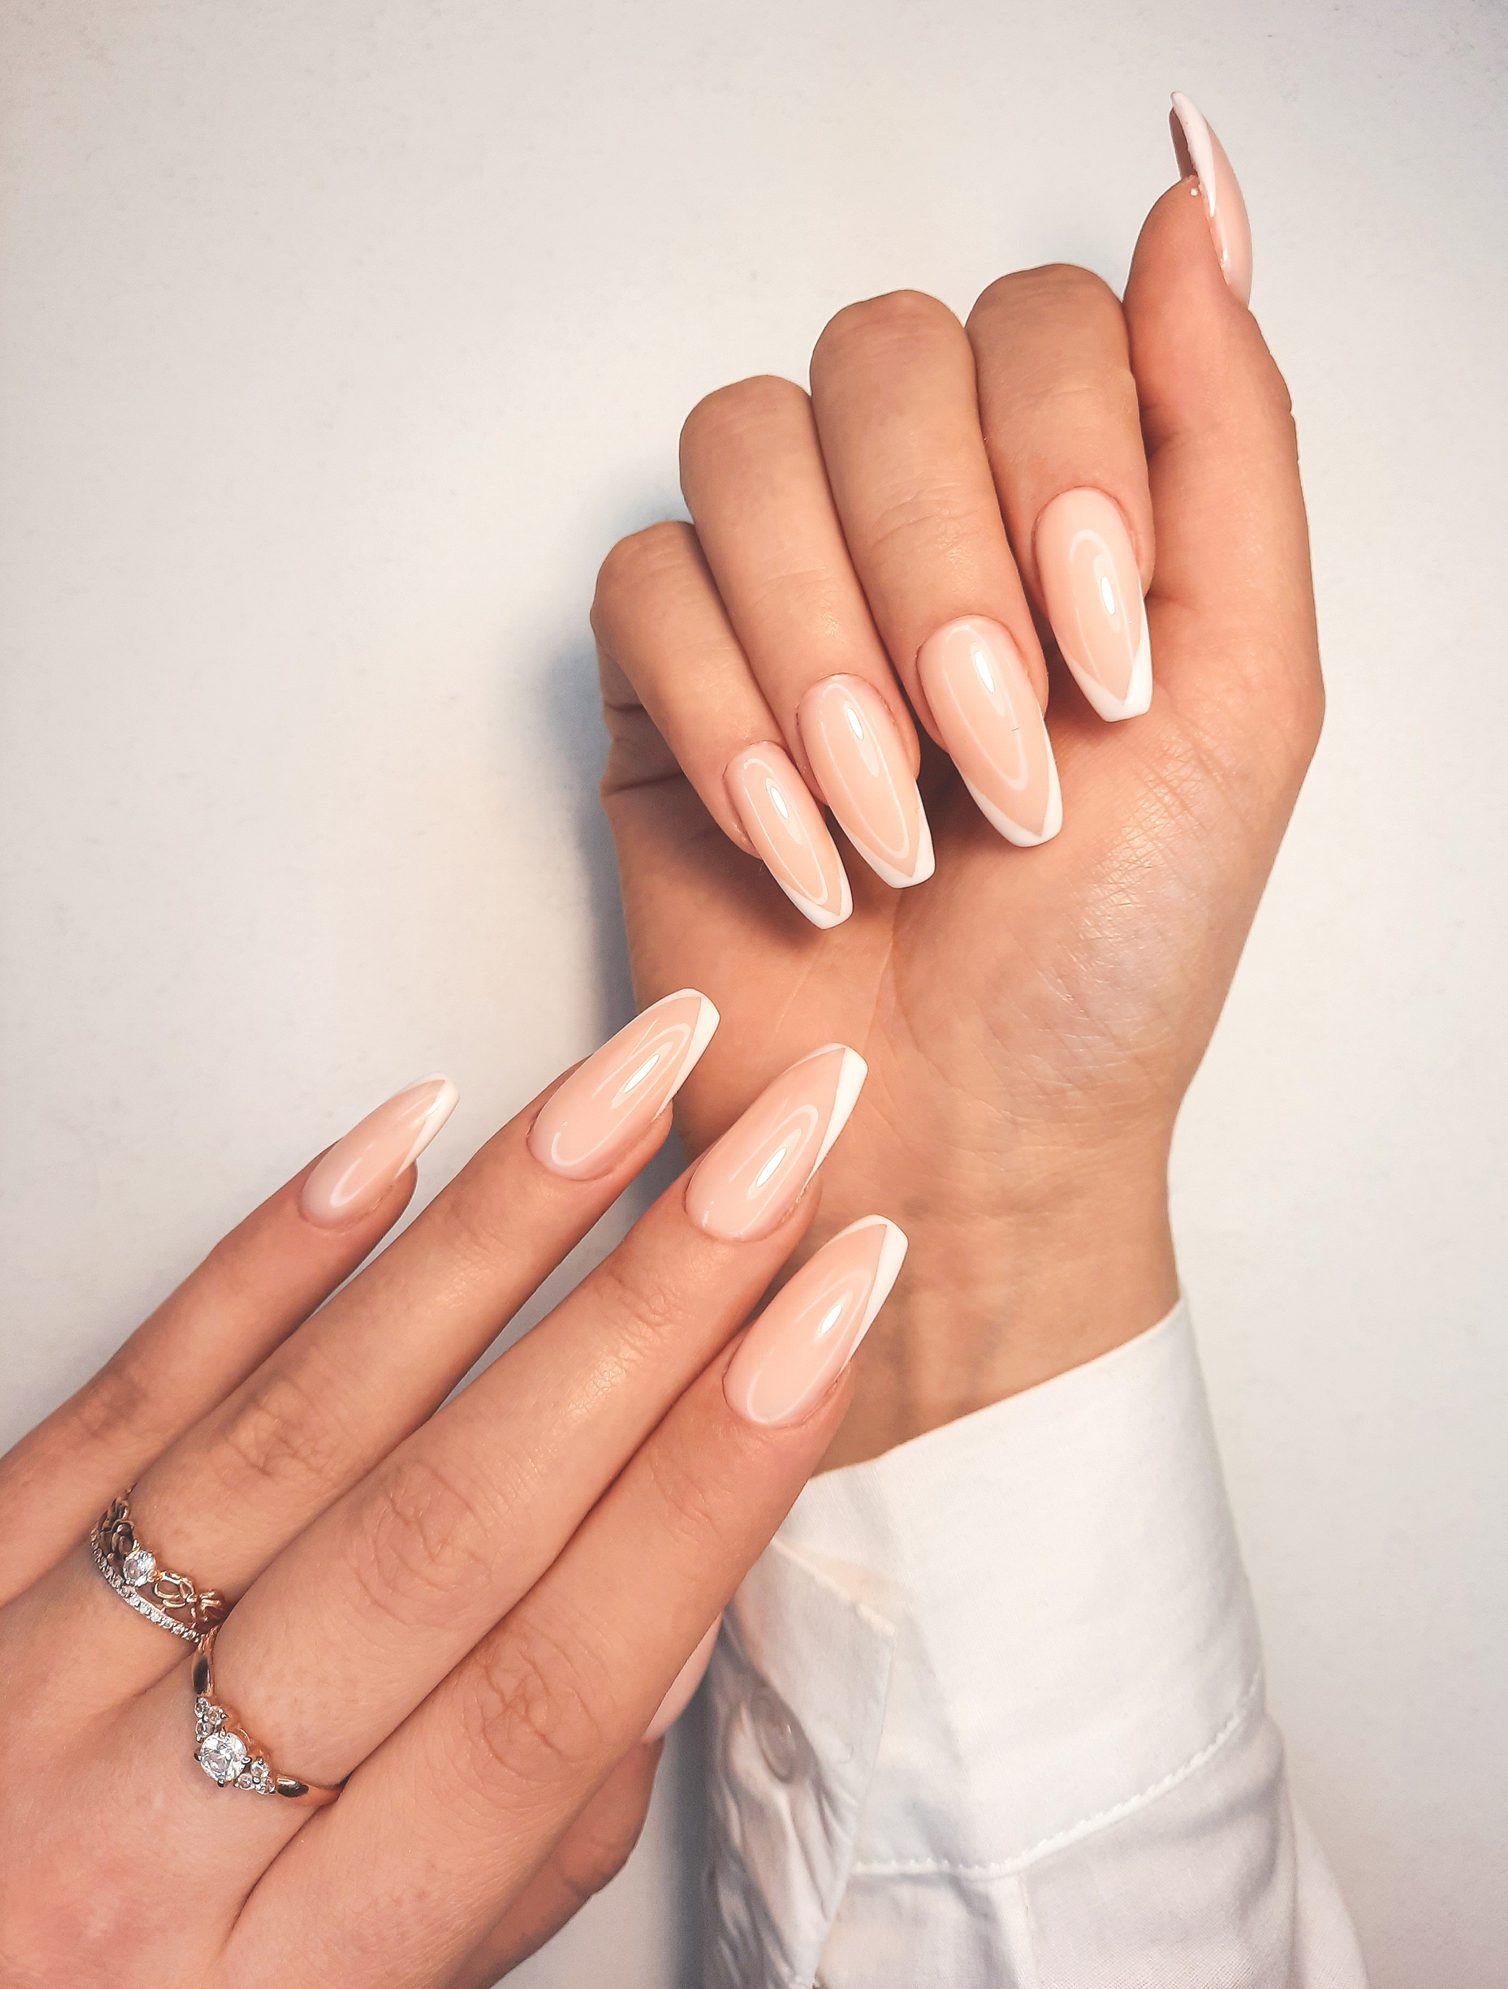
Acrylic Nails will always be in Style
Acrylic Sets have been used around the world for decades, and never go out of style. Whether your a newbie or a seasoned pro there’s a traditional process to achieving a Beautiful set of Nails. Here’s a list of Step by Step instructions below.
- Sterilize Tools and Nail Station. Remove any additional residue or enhancement on nails if necessary.
- Nail Prep: We recommend using Magic Bond Primer to prep the surface of the nail.
- Pour Nomma Plus Monomer into a Dapen Dish. Fluff powder in a Jar.
- Note: Nomma Plus is a primerless liquid so primer is optional, but we recommend use for clients that are problem lifters.
- Dip Brush Bristles into the liquid. Wipe excess liquid on the dish to remove too much liquid on the surface of the bristles.
- Dip the Brush into the Acrylic Powder & wait for the bead to form on the brush.
- Tip: Too dry of a bead will not melt evenly and too wet of a bead will run.
- Apply the bead of acrylic to the center of the nail and sculpt out evenly from side to side, and down the tip of the nail. Repeat as needed for additional coverage.
- Tip: Sculpt the nail in three zones. Mix ratio of 1.5 parts liquid to 1 part powder.
- Repeat Steps 4 to 6 until full set has been created.
- Give time for nails to dry. Standard setting powders typically dry between 5-8 minutes.
- File for shape.
- Optional: Apply Dual Sealer as a Top Coat for an extra shiny finish.
- Dual Sealer is a Universal TopCoat that is cured under a LED/UV light.
